
Four the past four months I’ve been co-managing a team of seven 3rd-graders as part of a program called Destination Imagination in preparation for the Jefferson Region’s D.I. regional tournament this past weekend. Destination Imagination is an awesome S.T.E.A.M.-focused program that aims to develop teamwork, creativity, innovation, and problem-solving skills in kids from elementary school to high school.
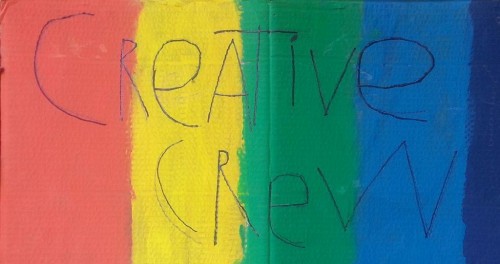
Our team’s name was Creative Crew, and one of the requirements for the tournament was that the kids make a team sign with their name on it. One of the boys took charge of writing the team name on the sign and I loved the character of the letters!
As the tournament drew nearer, I really wanted the kids to have team shirts. The regional D.I. program offered t-shirts, but we hadn’t ordered them, and since D.I. is all about being crafty and creative, I decided to take the task on myself. I was curious enough about screen-printing and have never tried it, and I was *sure* there had to be a DIY screen-printing tutorial somewhere on Pinterest. Sure enough, there are many! I settled pretty quickly on this one, probably because it said “easy” in the title. After all, I’m a procrastinator and with the tournament only a week away, easy was a prerequisite.
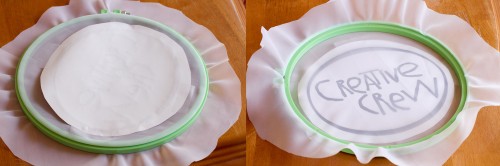
I had decided to use the team sign as the basis for the design. Bringing a photo of the sign into Photoshop Elements, I basically created a digital overlay and ultimately a black-and-white version of the words on the sign. I should mention that the project required an embroidery hoop, which is what holds the screen that you use to print your design. So, “Creative Crew” had to fit comfortably inside my 9.5-inch hoop. I resized the image accordingly and printed it. It looked like this:
Sheer curtain fabric is used for the printing screen, “synthetic, not stretchy, fine gauge, thin enough to see through easily”. I found some at JoAnn Fabric and bought two yards of it. I was pumped about the project and was sure I’d be screen-printing shirts left and right after this, so my impulsive and obsessive self needed to stock up! Plus, I had a coupon. (If you’re local to me and need DIY screen-printing fabric, let me know. I’ll hook you up.)
I cut a piece of fabric plenty big enough to fit the embroidery hoop and inserted it. Then I taped the printed design to the bottom side of the hoop.
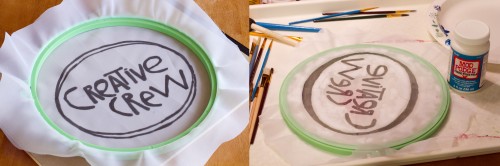
Using a Sharpie, I traced the design onto the fabric, then painted around the letters and ellipse with Mod Podge to seal those areas closed. This required 2-3 coats of Mod Podge, and holding the hoop up the light periodically to make sure all of the “negative space” was getting covered. Once satisfied with how the screen looked, I let it dry for 24 hours.
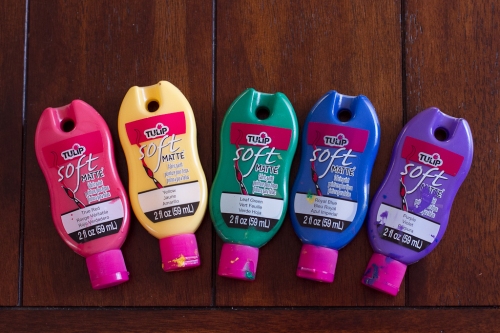
Next was the fun part. In terms of fabric paints, my choices at the store were limited. (Procrastinators can’t be choosy.) There were a ton of tie-dye paints and puffy paints, neither of which would have been suitable for this project. The Tulip soft matte fabric paints were my best option and worked well with my homemade screen.
Placing the screen where I wanted it, I squeezed out a line of paint and used a plastic pastry tool to swipe the paint upward and downward over the screen. A plastic putty knife would have been better, but I used what I had handy. I would recommend doing a few trial prints on old shirts or cloths first, because I ruined the first shirt by pressing way to hard and pushing too much paint through the screen. The quality of the prints definitely got better as I went along. I made eleven shirts altogether, quickly rinsing and towel-drying the screen between each print. (I’m not sure if this was necessary; it just seemed like a good idea.)
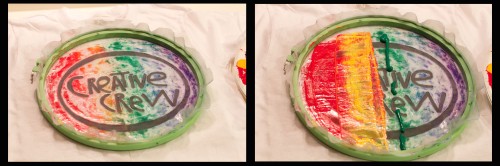
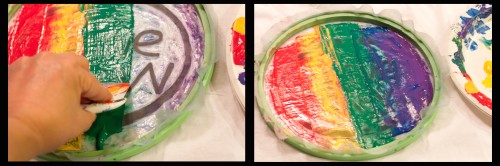
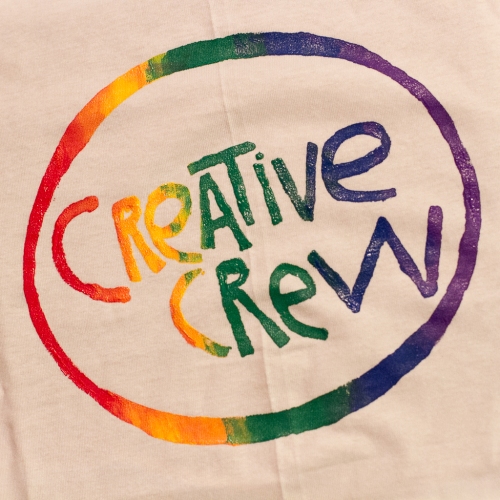
I applied one color at a time, pulling the paint upward and downward so the edges of the colors blended together, wiping excess paint from the plastic tool onto a paper plate. The colors blended together beautifully and I loved the results!
For most prints I only had a few spots where the paint didn’t pass through the screen. I used a brush and some of the excess paint to fill in those places. (It probably would have helped if I had ironed out the creases in the shirts first, but again… procrastinator, here.)
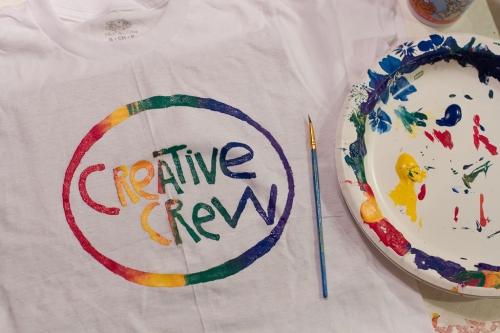
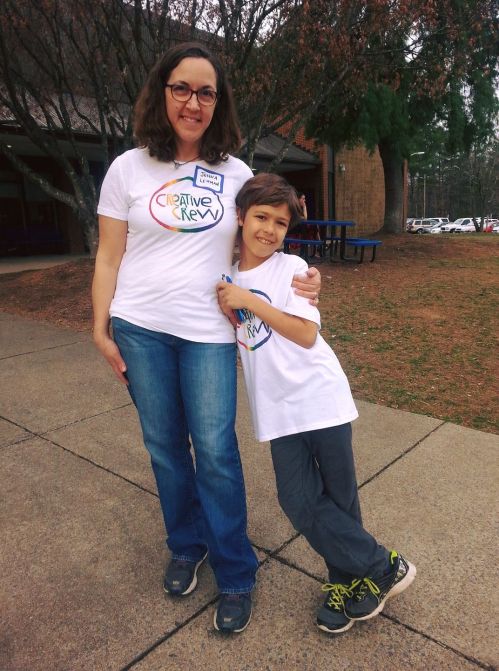
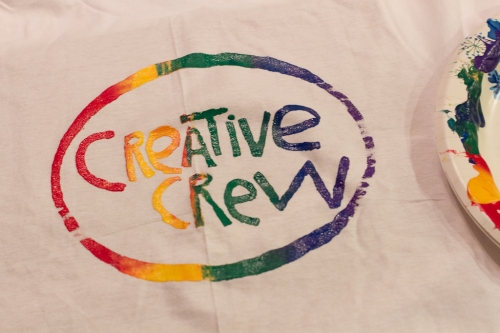
I loved how they came out and the team was thrilled with them too!
Here is Mr. D. and me on the morning of the D.I. regional tournament, sporting our DIY screen-printed shirts! I’ll definitely be looking for opportunities to do more DIY screen prints! It was a lot of fun!